Embedded
Programming
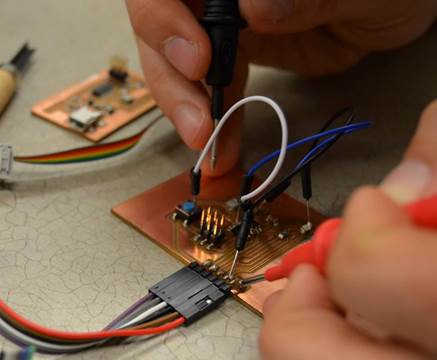
This week's assignment was to program the circuit boards we made last
week. As you can see, some of my traces were backwards, mixed up, or not
connected to anything! Fortunately I was able to correct them with little wires
and solder. Getting to the programming step took a while, as there was a lot of
testing connections with the voltage meter. Once we all got together to learn
how to program, we had to install certain drivers, and update the Arduino
software. This website was
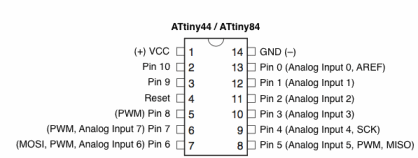
helpful in figuring out how to add our AtTiny44 to Arduino. I learned from the
microcontroller data sheet 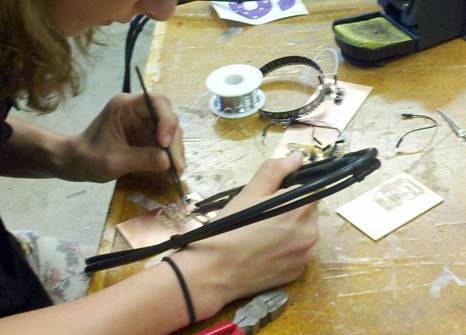 that the
AtTiny44 can operate anywhere between 2.5 and 5.5 volts. Also, in Arduino, you
must set everything up correctly. Make sure your board tab is set to ATTiny.
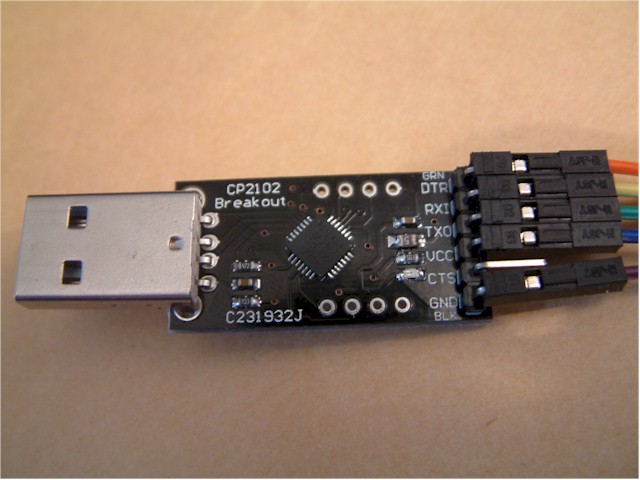
The clock should be at 8MHz. The processor should say ATTiny44. Our USB to
serial converter, a cp2102 breakout board,
had some trouble connecting to the computer. This was an easy fix after
downloading the correct driver.
that the
AtTiny44 can operate anywhere between 2.5 and 5.5 volts. Also, in Arduino, you
must set everything up correctly. Make sure your board tab is set to ATTiny.
The clock should be at 8MHz. The processor should say ATTiny44. Our USB to
serial converter, a cp2102 breakout board,
had some trouble connecting to the computer. This was an easy fix after
downloading the correct driver.
This was my first time ever using Arduino, and after learning how to
make my LED blink, I think I have a better
understanding of it. The example codes were necessary for someone who has never
seen code before. The punctuation will get you if the code doesn't! This web page was very
helpful for learning the references. SoftwareSerial
can be tricky, I learned about pulling the power high 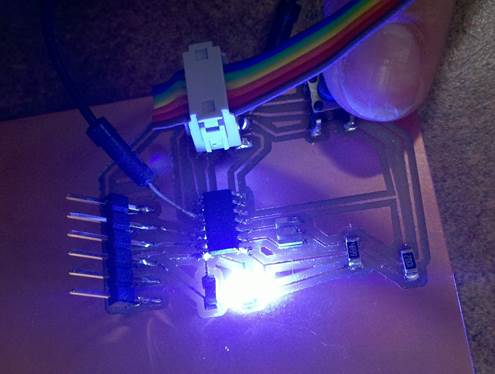 or low
to determine how fast the LED will blink. I am looking forward to working with
more code, perhaps with an RGB LED. For my final project, I want to make a
solar powered cell phone charging bag. I may use a blinking light to indicate
whether the power is getting to my phone!
or low
to determine how fast the LED will blink. I am looking forward to working with
more code, perhaps with an RGB LED. For my final project, I want to make a
solar powered cell phone charging bag. I may use a blinking light to indicate
whether the power is getting to my phone!